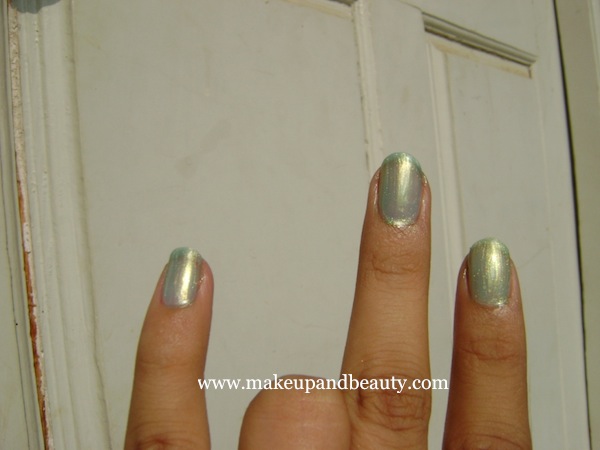
Step 1: apply the blue colour nail polish on three of your fingers..this is our sky background.you can also use a dark blue/purple too. i added only one coat because mine was too shimmery and I didn’t wanted it to dominate my white nail paint(which is a pearly frosty one) which I am gonna use to make design on top of it in the next step.
Step 2: now take the white nail polish and make a French tip with wavy end on the bottom.these are our snow heaps.
Step 3: now take a small amount of white nail polish on the plastic lid/any surface u decide to work with.dip the tooth pick/dotting tool in the white nail polish and make random dots of different sizes all over the blue painted nails.
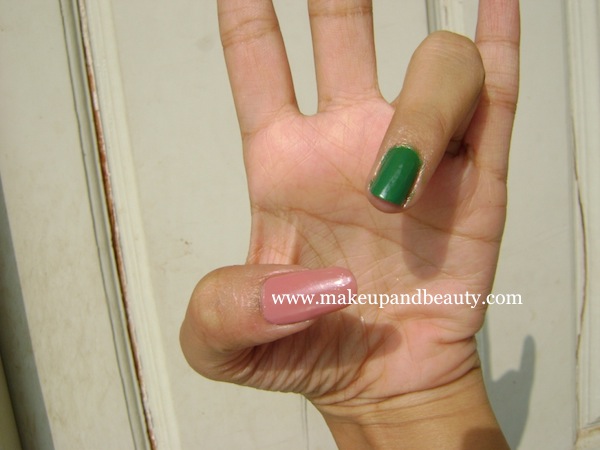
Step 4: now paint the ring finger nail and thumb nail with green and pale pink/nude nail polishes respectively.
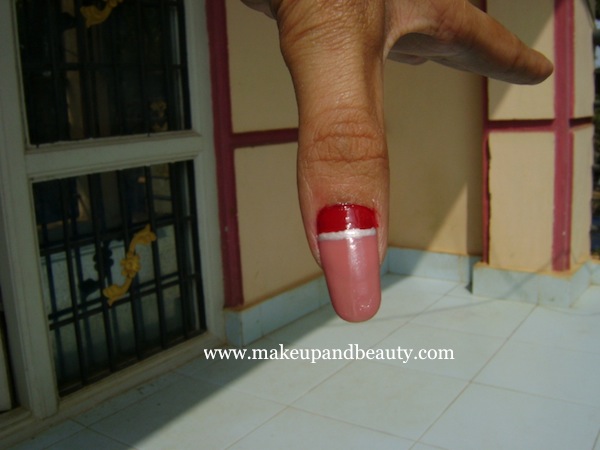
Step 5: now take the red nail polish and paint the bottom 1/4th of the nail.don’t worry if you mess up the line..we can correct it in the next step.and also don’t worry if you have a short thumb nail..just reduce the red paint area according to your nail size..that’s it..  this is the base for our santa’s hat.
 this is the base for our santa’s hat.
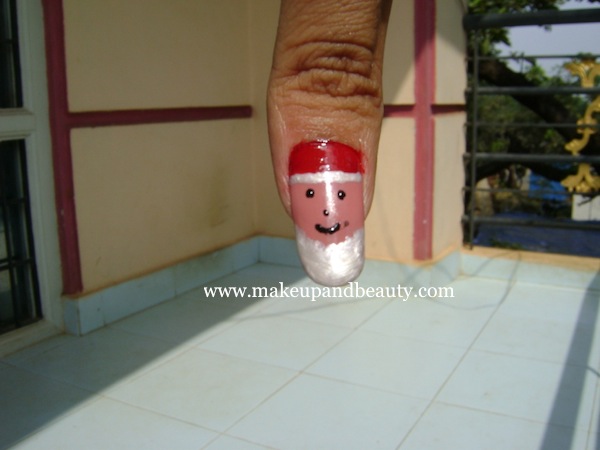
Step 6: now take some white nail polish on the plastic lid. dip the zero size brush/bindi brush/eyeliner brush in to the nail paint and draw a thick line at where the red paint stops.if you’ve messed up with the red paint this is the best time to cover it up with the white paint.here is our santa’s hat.
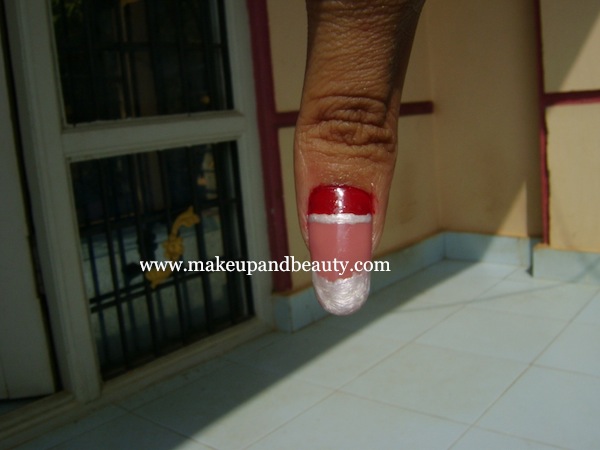
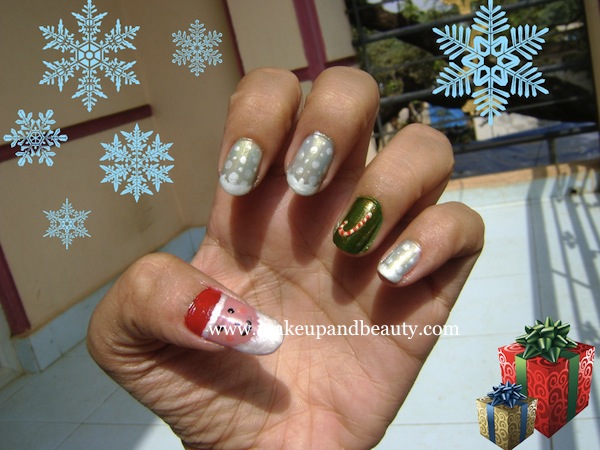
Step 7: now load white nail paint on the brush which comes with the nail polish and paint the top(or bottom in this pic’s case) 1/4th of the nail with it.make sure the inner line is crooked and messy(for a natural look).this is our santa’s beard.
Step 8: now dip a fine tipped brush/tooth pick in the black nail polish and draw santa’s eyes,nose and mouth.you can also add moustache with white nail polish..i forgot! I suck!
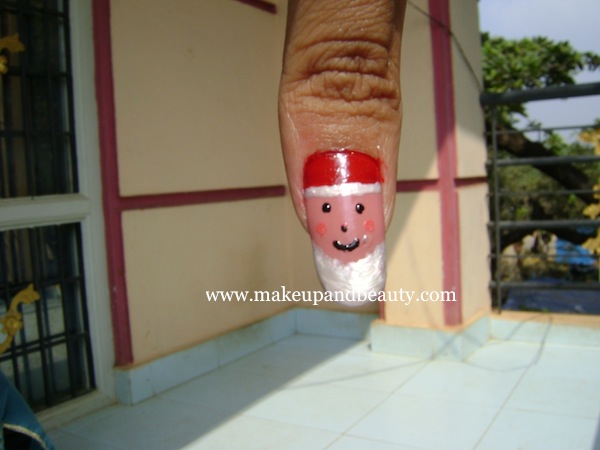
Step 9: santa wanted some colour on his cheeks..so i applied some blush with the bright pink nail polish(or you can also use red/orange) to santa’s cheeks.i messed up a li’l bit here and made it OTT like kareena kappor’s blush!  u can either put the blush colour directly with the nail polish brush or dip a Q-tip in water and then dip it in the nail paint which you are going to use as a blush and place it on santa’s cheeks.this will give a more natural looking blush without harsh edges like mine.
 u can either put the blush colour directly with the nail polish brush or dip a Q-tip in water and then dip it in the nail paint which you are going to use as a blush and place it on santa’s cheeks.this will give a more natural looking blush without harsh edges like mine.
Step 10: ok..now santa wanted some highlighter too! So I added a sparkly gold nail polish above the blush.it is not really showing up in this pic.anyways..our santa is ready!
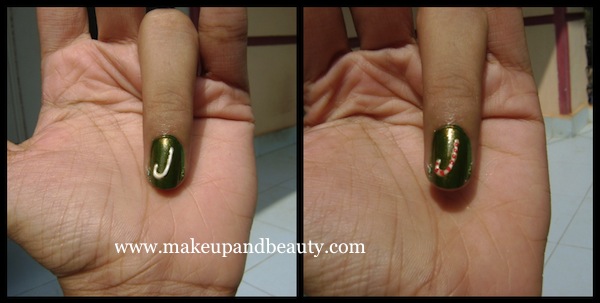
Step 11:now let us draw our candy cane..on the green painted nail(I added a coat of sparkly gold nail polish because the fake vov green nail paint was ruining my white candy cane base..it was turning it yellow!!)draw a slant “j” with a white nail polish using a thin brush/tooth pick.let it dry a li’l bit.then with the same brush/tooth pick draw little slant lines on the “j” using the red nail polish.our candy cane is ready!
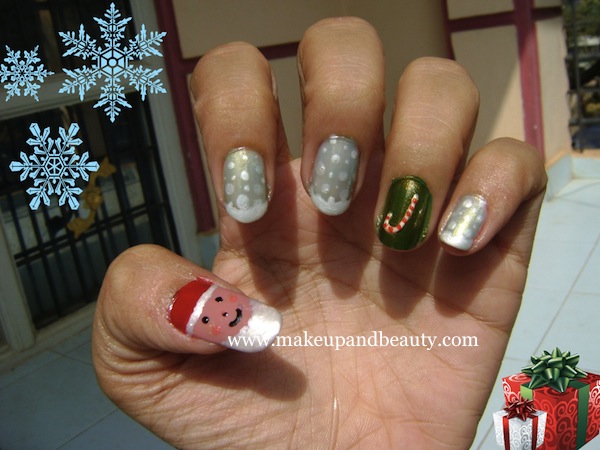
Clean up the edges with a Q-tip dipped in nail polish remover and Our nail art is ready!
If you are too lazy to do all of this then you can paint all of your nails with just the snow design.
I made my own pointed Q-tip in the following method.it is quite simple and a pointed Q-tip offers more precise and neat clean up.just take a small piece of cotton and wrap it around the pointed side of the tooth pick and twist it by placing the tooth pick in between your thumb and index finger.they should move in opposite directions as shown in the pic below.add some more cotton if you feel it is too thin.that’s it..your own home made pointed Q-tip is ready! You can also use this to clean up eye-liner/eyeshadow/lipstick mess-ups.
I made my own pointed Q-tip in the following method.it is quite simple and a pointed Q-tip offers more precise and neat clean up.just take a small piece of cotton and wrap it around the pointed side of the tooth pick and twist it by placing the tooth pick in between your thumb and index finger.they should move in opposite directions as shown in the pic below.add some more cotton if you feel it is too thin.that’s it..your own home made pointed Q-tip is ready! You can also use this to clean up eye-liner/eyeshadow/lipstick mess-ups.
Hope you all liked this tutorial..have a happy and merry Christmas with jingle bells,candy canes,glowing stars and santa’s gifts. 

www.makeupandbeauty.com







wow.this is cute :x you are really playful and crative!
ReplyDelete